Wednesday, April 4, 2012

Besan Ke Laddoo

Nairobi, it's time to say 'adios' to you, with a dolorous heart and rainy eyes. Though the exhilaration of going back to desh is profound, yet the agony of not seeing you again is sore. These three months have been a potpourri filled with varied emotions, smiles, and tears. The lush green foliage, twinkly flowers, blossoming buds, and pearl rain showers, these all will always rest in my memory, never to be forgotten.
This place gave me ample time to play with my culinary skills with creativity imbibed. From baking breads to muffins, I almost found all baking artillery here which I could hardly find in India. 
Today, when this is my last post from this land, I want to make sure that I pay due regard to it and leave behind memories full of sweetness and charm. It's not just that I have to finish the gram flour and ghee before I leave, but I actually wanted to make these 'Laddoos' on a special day, so chose to do so just a day before the final day. 
Sugary, simple, yet comforting, this is an Indian Sweet that I and my hubby love a lot, joined in by our little princess who also has a sweet tooth.
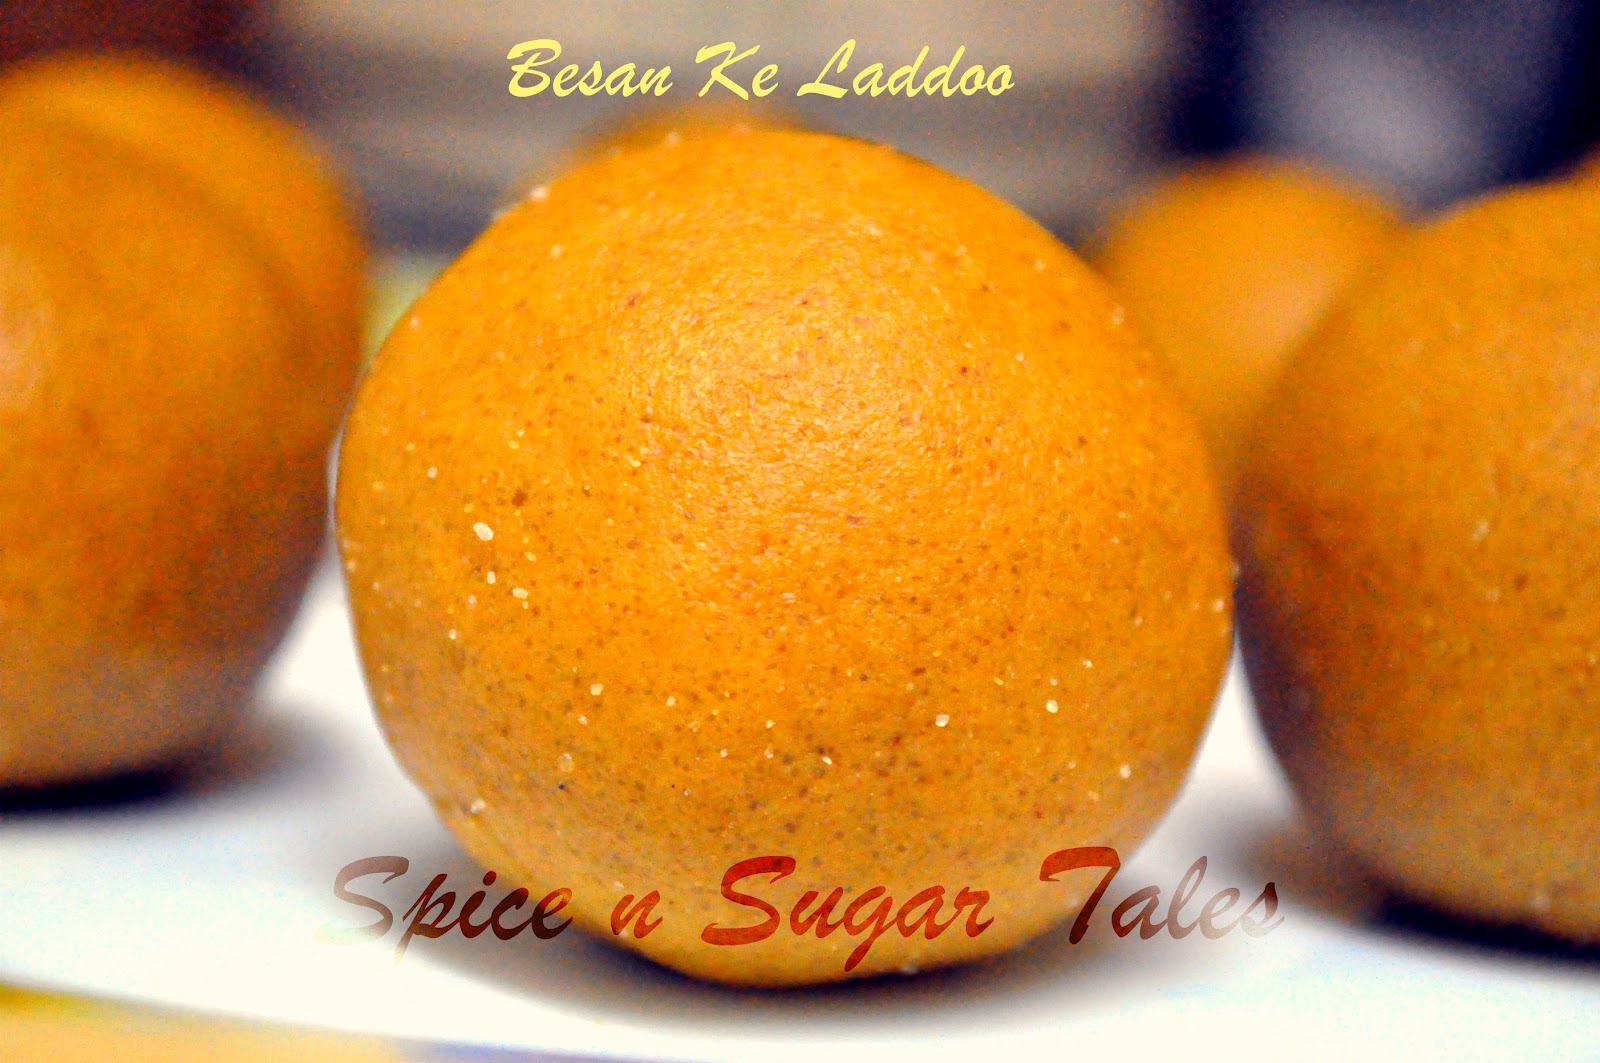
BESAN KE LADDOO

Preparation Time: 5 minutes
Cooking Time: 10-15 minutes
Makes 10 Laddoos


Ingredients:
1. Bengal Gram Flour/ Besan: 1 and 1/2 cups
2. Powdered Sugar: 1 cup (more if you like them sweeter)
3. Ghee/ Clarified Butter: 1/2 cup
4. Cardamom Powder/ Pisi Elaichi: 1 tsp
5. Sooji/Semolina: 2 tbs
6. Almonds and cashews (optional)

Method:
  1. Take a heavy bottomed pan/kadai and melt ghee in it.
  2. Add in the gram flour and cook on low flame for around 10 minutes, stirring continuously, till the flour turns golden brown. You will be able to breathe a nice aroma by now.
  3. Initially when you add the ghee, the mixture will not appear very greasy and runny (unlike for 'halwa' where we keep it very greasy and flowing). Slowly as the flour gets cooked, it starts leaving ghee and towards the end you'll find the mixture greasy and smooth.
  4. Put off the flame and let it cool completely.
  5. On the other hand, powder the sugar in a grinder with cardamom added to it. 
  6. Now add this sugar cardamom mix to the cooked flour and mix well with hands.
  7. Divide into 10 equal portions and make round laddoos. I have learnt a special technique of making laddoos from my grand-mom where you make a ball with both the hands, and then roll it in your right palm, letting it move to and fro, so as to get that shiny, smooth texture. 
  8. If you wish, you could add some slivered/finely chopped dry fruits to the flour mix before forming balls. 

Suggestions:
  1. If the ghee is more in laddoos, and the temperature is too warm outside, they will flatten when you make balls. In such a case, let them cool down/refrigerate for 5 minutes and then reform immediately, giving the perfect round shape. 
  2. In place of sooji, some people even use maida/all purpose flour.
  3. Adding dry fruits is always an open option, though I generally prefer them plain.
  4. Decrease or increase sweetness as per your taste.


The laddoos take off to:
 Any One Can Cook  by Umm,

Monday, April 2, 2012

Home Baked Eggless Paav/Buns

Excuse me for this crime again; I've been boring you guys for a lot of days with baking, baking and just baking, and still can't run away from it. :P
There are a lot of recipes resting in the drafts which I'll be posting gradually; I don't intend to poison you with the sweetness of cakes and muffins all the time. ;) So, today the baking section takes over to the breads again. My first experiment with yeast (Those sexy braided breads if you remember!!) was truly inspirational for me, and I was incited to work more on it. There's a huge list to follow, but the basics need to be mastered first, so I finally shored on this simple yet hearty recipe of Home Baked Paav/Buns. No special skills required, no art n craft to follow, no hustle n bustle, just a smooth, easy going recipe that anyone can cook. 
These breads also became special because they were baked for a special day; my Birthday! I cooked some Aloo Bhaji to go with them; and then there was a Pineapple Bundt Cake to accompany, which I'll post later. :)
I have taken help from Gayatri's Cookspot for this recipe with slight modifications. She has a wonderful collection of egg-less recipes. :)

HOME BAKED EGG-LESS PAAV/BUNS

Preparation Time: 15 minutes (Plus Rising Time: 90-120 minutes)
Baking Time: 15-25 minutes (depending on your oven)
Makes 6 Paav/Buns


Ingredients:
1. All Purpose Flour/Maida: 1 and 1/4 cup (1 and 3/4 cups if you exclude atta)
2. Whole Wheat Flour/ Atta: 1/2 cup (optional)
3. Active Dry Yeast/ Instant Yeast: 1 tsp
4. Luke Warm Water: 1/4 cup
5. Butter/Olive Oil: 2 tbs
6. Warm Milk: 1/4 cup (use only if required) + 2 tbs for brushing
7. Baking Powder: 1/2 tsp
8. Curd/yogurt: 2 tbs
9. Salt: 1 tsp
10. Sugar: 1 tbs

Method:
  1. Add the yeast and sugar to luke warm water (1/4 cup) and let it stand for 10 minutes till it starts frothing.
  2. Sieve the maida/all purpose flour and aatta/whole wheat flour; add salt and baking powder to it.
  3. Now add 1 tbs butter/oil and yogurt to the flour and mix well. Make a well in the center of the flour and slowly pour in the yeast water mix. Keep on kneading and adding slowly till a sticky soft dough is formed. If you find that the water is not enough, then add in some warm milk slowly. The dough will be as soft as the dough we make for naan.
  4. Knead it well after greasing your hands with some oil, till the dough becomes pliable and soft (I did that for around 10 minutes). 
  5. Now grease the outer dough with little oil to avoid drying and keep it covered with a wet clean cloth/cling wrap in a warm place for about an hour or more (till it doubles up in size).
  6. After one hour, when it's doubled, deflate it gently with your palms and make six equal sized balls with it. 
  7. Place the balls lying close to each other in a greased loaf tin/square cake tin.
  8. Brush them with milk on the top.
  9. Cover these with a wet, clean cloth/cling wrap and keep covered for almost 30-40 minutes (better an hour) for rising.
  10. Pre-heat the oven at 160 degrees Celsius for 10 minutes. 
  11. Now transfer the loaf/cake tin (with the dough balls risen within) on a baking tray and take off the cover/cloth/wrap. Bake for 15-25 minutes at 160 degrees Celsius till the top turns light golden brown.
  12. Take them out and let them cool for 5 minutes. Smear and toast them with butter before dipping them in some hot Aloo Bhaji.


Suggestions:
  1. If you are using instant yeast, use the same amount.
  2. There's another way of making the dough in which all the ingredients are mixed together and dough is formed; no separate frothing of yeast in water is required. This is good when you are using instant yeast. Although I prefer the original method.
  3. If the dough is not rising because of the temperature (i.e. it's not warm), you can place the dish containing the dough over a vessel filled with warm water (and not dipping in the warm water). This will help providing the right temperature for rising.
  4. I kept the dough in the closed oven for rising, with the light on. This gave the perfect temperature and environment for rising, and it puffed up double in just 45 minutes.
  5. Baking timings vary according to different ovens, but this cannot be baked in a microwave oven without convection mode.  
  6. I brushed the dough balls after rising and just before baking, but somehow it made the balls to deflate a bit on the top which you can see in the pics. Before brushing they were puffed, smooth and perfect round on the top. That's why now I prefer to brush the dough balls with milk before keeping them for rising again. Don't touch the balls after they have risen, whether to shift, or out of curiosity. It will deflate them, and then they won't puff again and will sink in. If you want to brush them after rising, make sure you do it very softly, so as not to deflate them.
  7. The risen dough looks well puffed, also it sticks to the neighboring balls, but don't try to separate that. Just transfer the whole tin to the oven and cut the baked buns into individual pieces once they are baked. 
  8. If you want the burger buns which are round, flatten the balls slightly and place them directly on a greased baking tray for rising, with a distance of 2 inches on either sides of each ball. This will provide ample space for puffing and they won't stick to each other on rising.
  9. If you wish to use eggs, you can skip the baking powder and curd/yogurt.
  10. They can be stored for 2 days in an airtight container, though they always taste better and soft when eaten warm n fresh. 
  11. If you refrigerate them, the butter will harden them a bit, so take them out of the fridge 30 minutes prior to use.   

The recipe goes to:
Bake Fest by Vardhini hosted by Sumee,
Any One Can Cook  by Umm,
  Midweek Fiesta at Food Corner

Series Announcement: Cooking Made Easy

Simple rules to participate:
  1. The recipe should be vegetarian, though eggs are liberated for baking.
  2. There will be a surprise ingredient every month and the recipe should have that ingredient as a major in it.
  3. Any number of entries are invited, fresh or archived, just that they need to be linked back to the event announcement page.
  4. The use of logo is optional.
  5. You have to like 'Spice and Sugar Tales' on 'Facebook'.
  6. You have to follow the blog for further events and updates. 

The surprise ingredient for the month of 'April' is 'Yogurt


ROUND UP


1. when Chocolate Meets Yogurt

2. Pomegranate Yogurt

3. Mava Makkhan Lassi

4. Dahi Baigan

5. Curd Rice

6. Instant Sooji Dhoklas

7. Fruit Lassi

8. Palak Raita

9. Veg Raitha

10. Gujrati Kadhi

11. Kasoori Methi Parathas

12. Fruit Yogurt Smoothie

13. Bhaturas

14. Apple Honey Dip

15. Mango Lassi

16. Dahi Wale Aloo

17. Instant Mini Idlis

18. Corn Raita Toasted Sandwich

19. Soya Keema

20. Instant Uttappam

21. Soya 65

22. Corn Raita

23. Caqui Yogurt Smoothie

24. Savoury Semolina Cake

25. Vegetable Pulao

26. Pumpkin and Raw Mango Pachadi